All Grain Brewing
It’s the holy grail of home brew.
You’ve made your fair share of extract beers that are turning out pretty good. Or perhaps you’ve experimented a bit by adding your own additions like steeping grains (mini mash), dry hops and fruit additions.
You’ve definitely caught the home brew bug and want to make your ultimate beer just like the professional craft breweries do!
Welcome to all grain brewing.
All grain brewing gives you complete control over your brewing creations. It does take a little extra time, but the results are worth it.
We’ve put together a basic overview of the steps of all grain brewing to get you started. There are plenty of great books and online resources to help you hone your craft.
1. THE RECIPE
When starting out, we recommend using a tried and tested recipe; you’ve got enough to think about already.
You can either use one of ours or follow the countless recipes available online or through one of the many brewing apps (see below).
If you are looking for guidance as to which recipes are good for beginners, just ask us.
2.THE MASH
The first step in all grain brewing is making the wort. The first step in making wort is called the mash.
The purpose of the mash is to extract fermentable sugars from the grains as well as their flavours and colours.
Mash temperatures and durations vary from recipe to recipe, but they are most commonly between 65C and 68C for 60 minutes.
After 60 minutes you typically raise the temperature to 75C - 78C for another 10 minutes. This part of the mash is called mash out.
3. THE SPARGE
Once the mash and mash out are complete, you need to remove the grain from your wort.
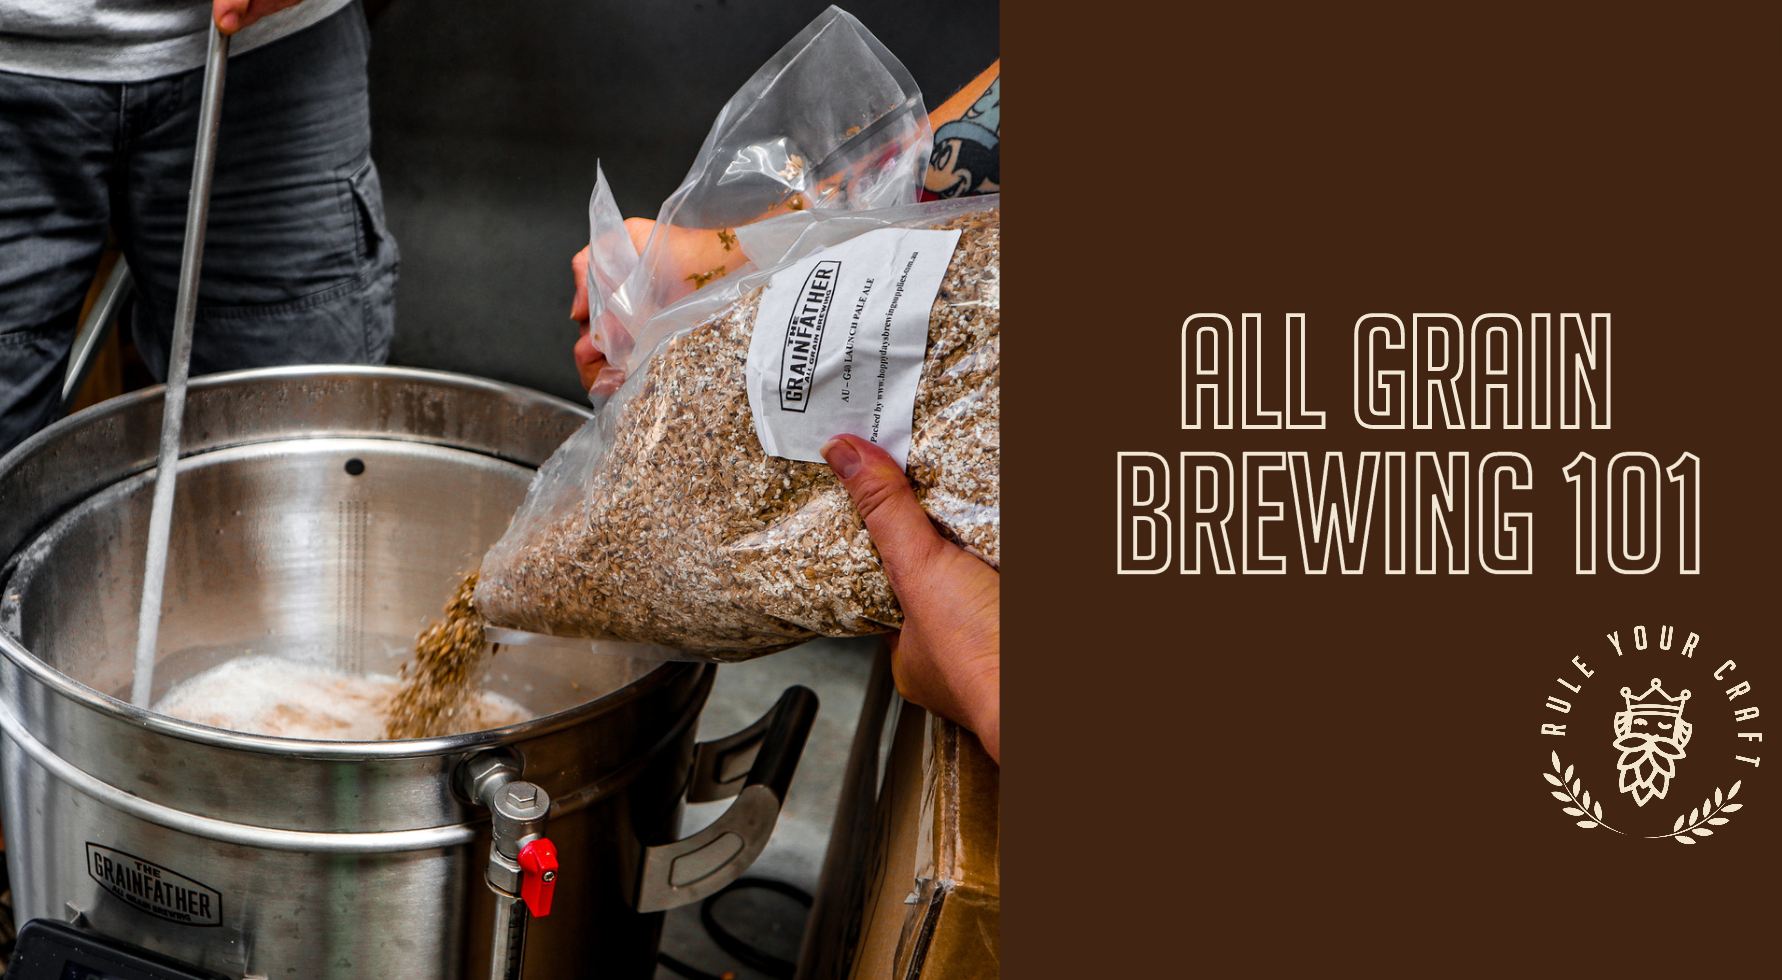
BIAB (Brew In A Bag) brewers usually have a nylon bag which they can lift out of the pot, while All-In-One systems like the Grainfather or Braumeister have a stainless steel malt pipe which can be lifted out.
Once your grain is removed from the wort, allow it to drain into the pot (don’t waste your precious wort) then rinse the grains with water.
This process of rinsing the grains is called the sparge. Normally, your recipe will determine how much water to use in your sparge.
You now should have around 26-30 litres of wort in your boil kettle/pot ready for the next step.
4.THE BOIL
The boil has two primary functions;
- to sanitise the wort (from wild yeast, bacteria, viruses etc), and
- adding extra flavour, aroma and bitterness through hop and other additions.
- 90-60 minute additions are for bitterness
- 15-10 minute additions are for flavour, and
- 5-0 minute additions are for aroma.
Boil times reference how long the hops are being boiled for ie a 60 minute bittering addition will be boiled in the wort for 60 minutes.
While a 2 minute addition is added when there is 2 minutes of the boil left, or boiled for 2 minutes.
At the end of the boil the wort should be cooled as quickly as possible (using an immersion chiller, plate chiller, counterflow chiller etc) to 18C-20C (lower if you are brewing a lager. See suggested fermentation temperatures on your yeast packet).
Transfer your wort to your fermenter, add your yeast (once desired pitching temperature has been reached) and start the fermentation process as normal.
Every recipe has different volumes of starting water (called strike water) for the mash and amount of sparge water to rinse the grain. The amounts of water are determined by the amount of grain and your specific equipment setup.
Brewing software can help calculate all this for you. We recommend either the Grainfather Connect App (especially suited for Grainfather or similar setups) or the BrewFather App. Both apps are free and easy to use
Both apps allow you to input your recipe and equipment profiles and it will calculate your required water volumes for you.
They will even act as a brew day timer to help you stay on track!
We can also help you determine these if you are unsure - just ask.


